This post is more for the D.I.Y.ers , and Gemini Owners. There is a link to an excellent “How to” video at the end of the post.
All our windows are starting to suffer from UV degradation, particularly the cockpit and forward window which are badly crazed and yellowed. Back in December I decided to have ago at replacing the cockpit window. My thoughts were, if I can make a good job of the biggest window, then the others should be a doddle.
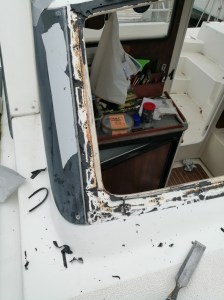
First job was to remove the window. Remove all the screws. Then with a modified bread knife, from the inside, I gently cut through the sealant to the outside in a series of stabbing motions. That Sikaflex is tenacious stuff, but slices quite easily. The perpex windscreen was then lifted clear. Cleaning off all the residue sealant was acheived with a sharp wood chisel and a good deal of care. Using rubbing alcohol to clean down.
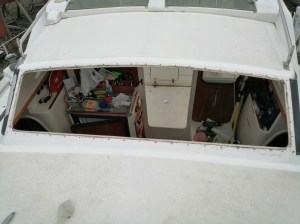
A temporary cover was put over the hole to make the boat watertight while the new panel is made.
So far so good,
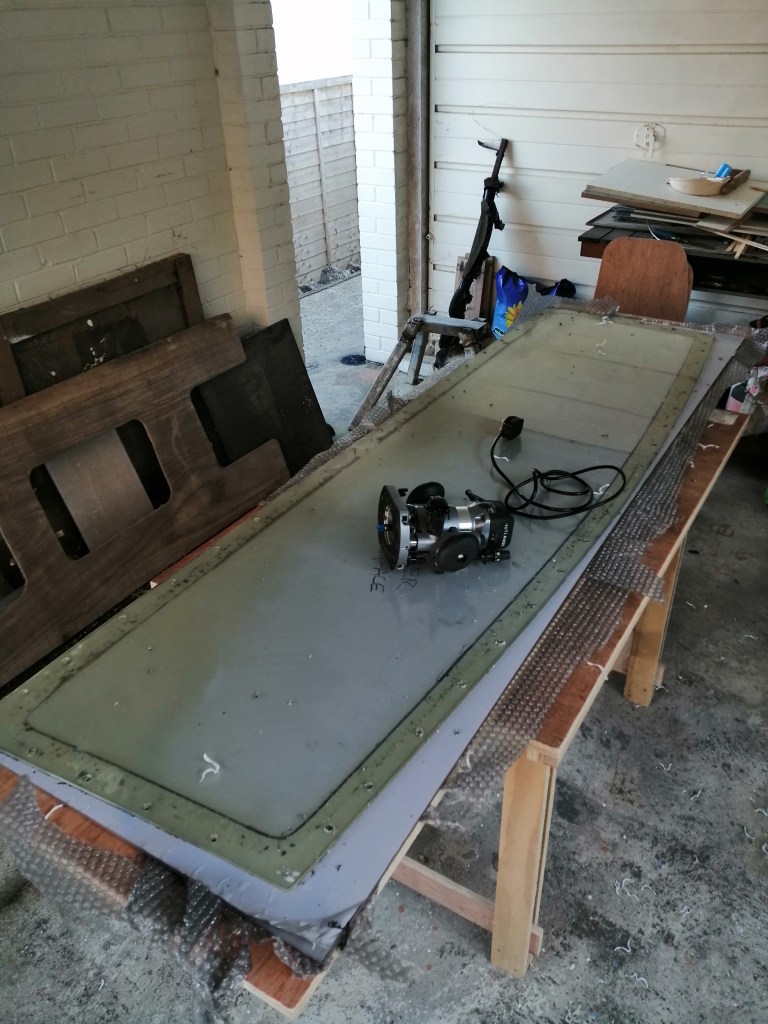
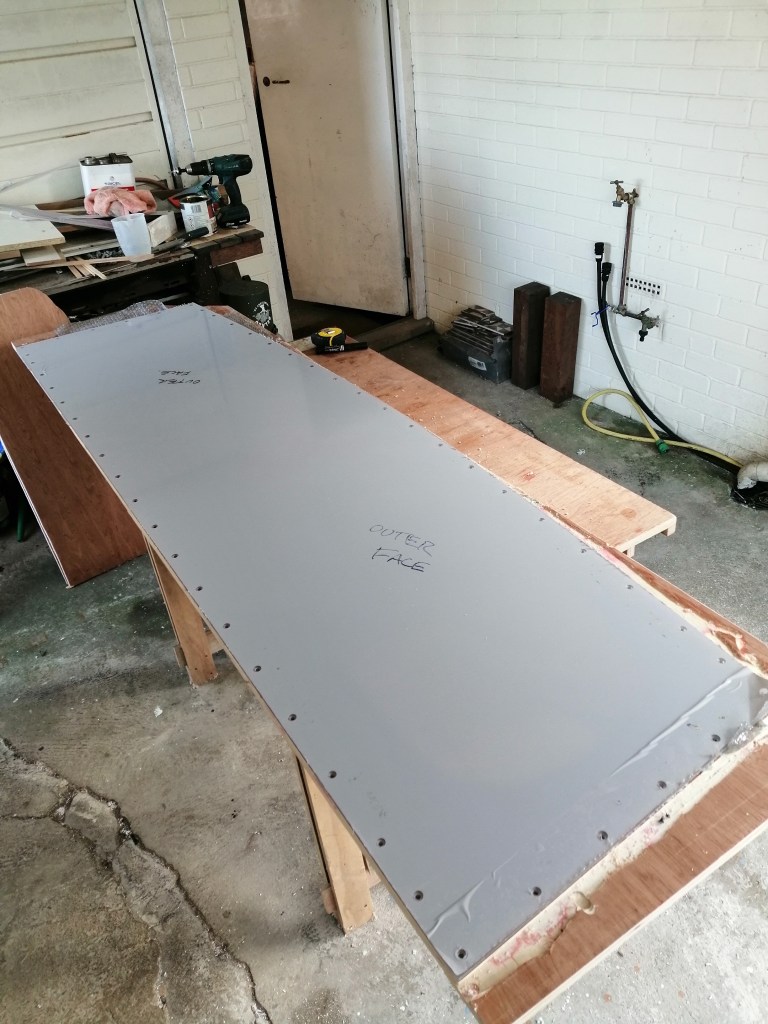
£200 saw a very large piece of ‘Makrolon” , polycarbonate sheet arrive. I started by clamping the old window on top of the new sheet and to a piece of plywood. The holes were drilled using the old window as a template , then with both pieces screwed together onto the plywood. Again using the old window as a template, the window shape was formed first with a jigsaw leaving 2-3 mm all round, then with a router with an edge trimming bit.
{Note. the tool must be dead sharp. run the router at a low speed or the makrolon will start melting. : Lubricate with water if necessary}
Final job was countersinking the holes.. I had bought a micro adjustable countersink for that job to give a consistent depth and finish.
A 25mm wide foam tape 3mm thick forms the inside edge detail to the window and this was the next thing to apply. Sika recommend a primer be applyied to polycarbonate to make it stick reliably, so that also needs applying. This stuff is more expensive than printer ink. It happens to be a very dense black colour which will be helpful to make the the job look good. ( any missed spots when you’re sealing will shine through and spoil the look of the finished job.)
The Sikaflex 295UV is not meant to be applied at low temperatures So the job was put on hold until early Feb when the temperature finally rose shove single figures.
Next temporarily screw the window in place and tape round the edges for the sealant edge.
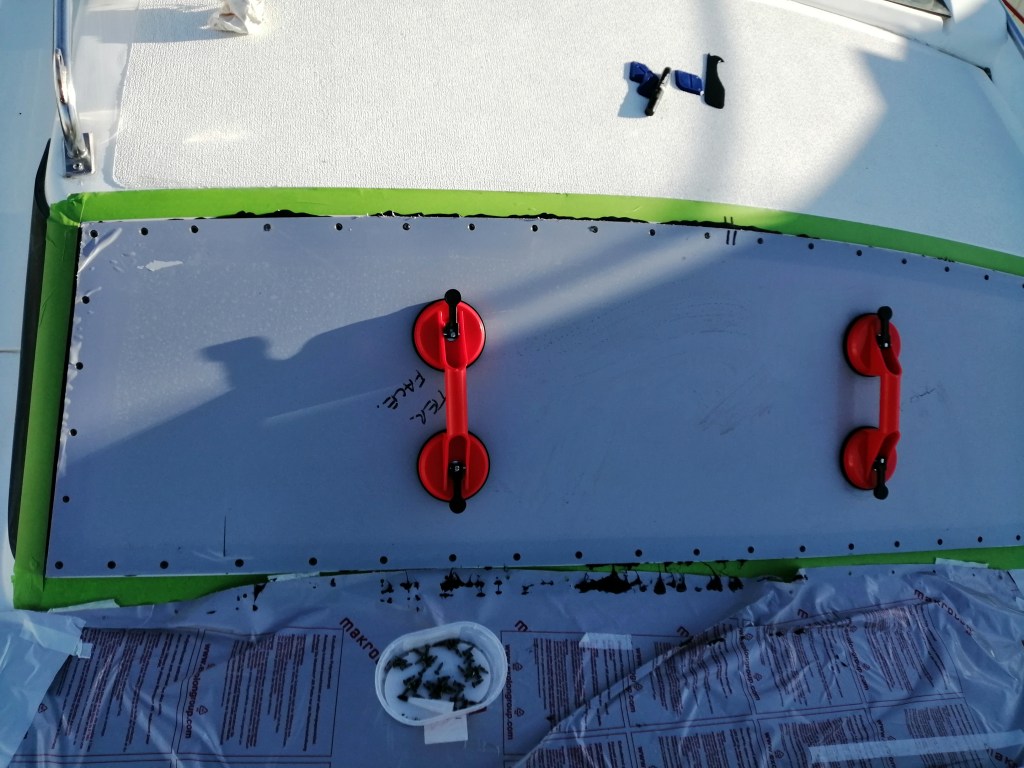
Now the big moment. Apply the sealant, generously, and carefully offer the window up into place and get some screws in but do not tighten up until ALL the screws are started. Then starting in the centre tighten gently to produce an even curve on the window (NO DIMPLES) Remember the screws do not form a structural part of the window, they simply hold it in place until the sealant cures. Once you are happy with the shape and all screws are of an even tension. I used a silicon edging tool to form the edge bead.
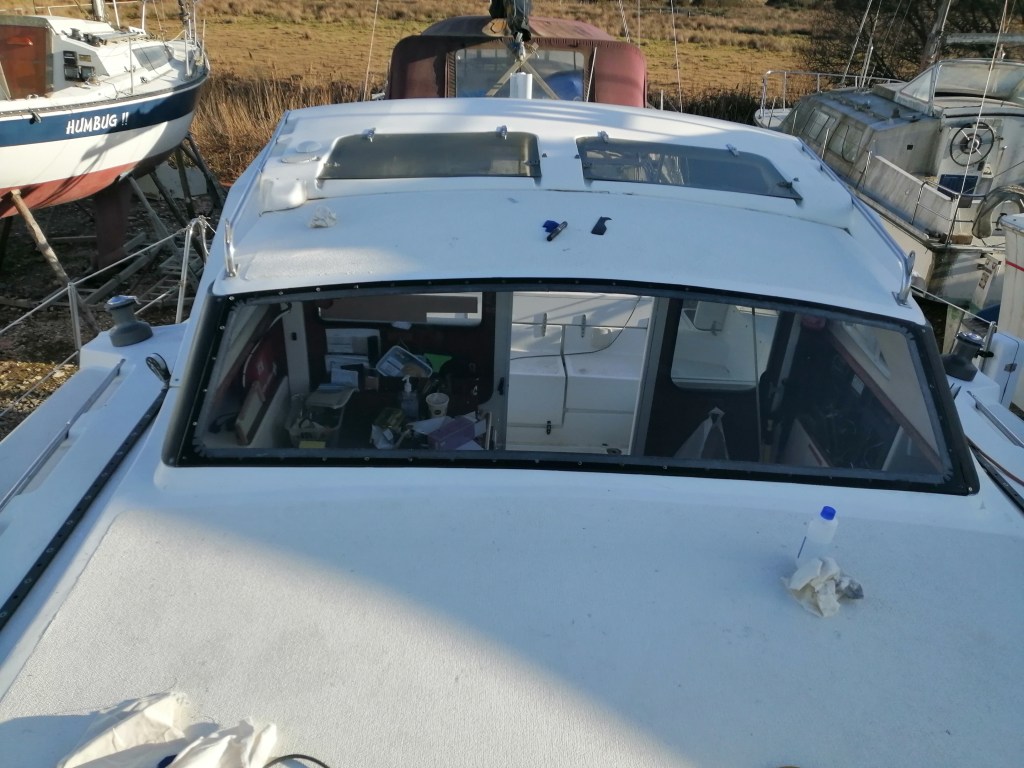
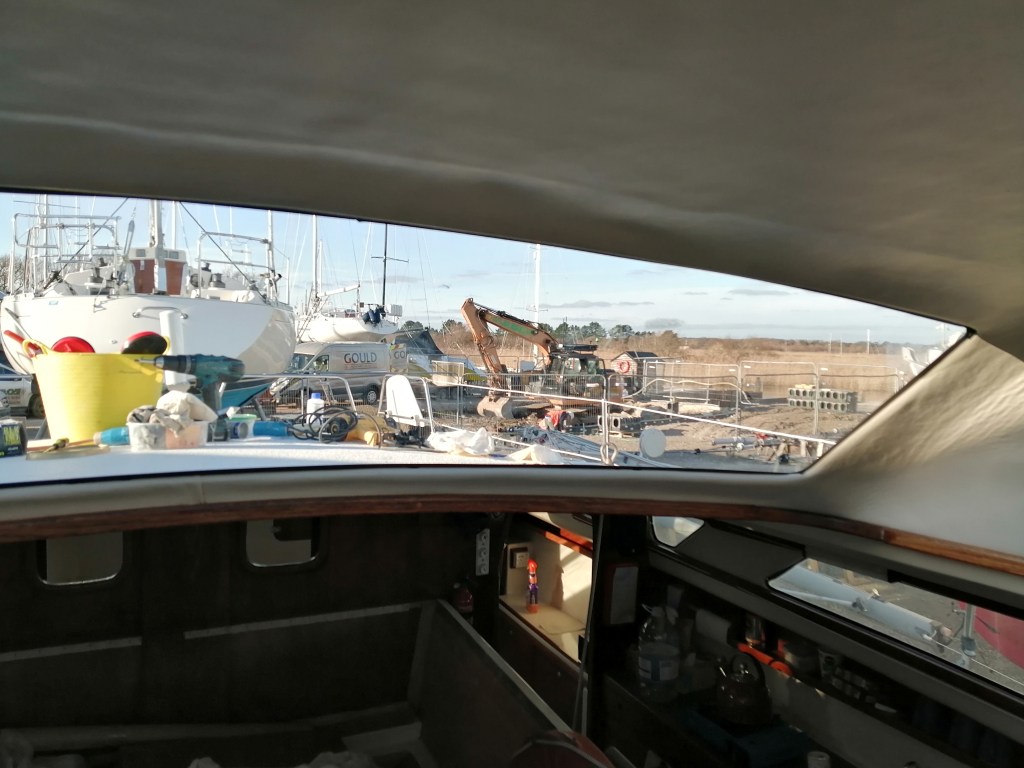
Makralon is unbelievably clear, actually clearer than glass. so the finish job looks almost as if there’s no windscreen in place. Really pleased with that.